
Demat accounts have revolutionized how we handle and trade financial securities. With everything going digital, owning a Demat account isn’t just an option—it’s a necessity. It simplifies transactions, reduces paperwork, and enhances the security of your shares and bonds.
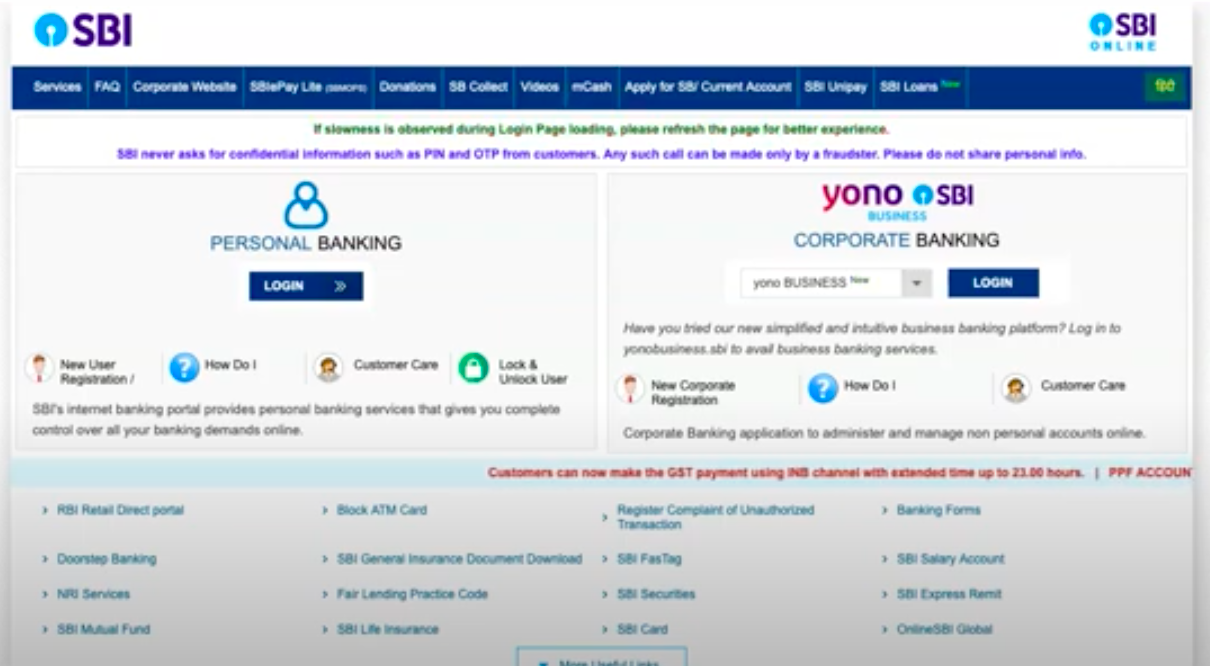
SBI’s Net Banking service makes opening a Demat account straightforward. If you’re already familiar with SBI Net Banking, you’ll find the process intuitive and hassle-free. Here’s a detailed guide to help you register your Demat account through SBI Net Banking in no time.
Before diving in, ensure you’ve met a few prerequisites. You need an active SBI savings account, access to SBI Net Banking, and relevant personal identification documents.
Log into your SBI Net Banking account using your credentials. Navigate to the ‘Demat Services’ section often found under the ‘e-Services’ tab. Here, you’ll find the option to apply for IPOs and from there you can add your demat details. Adding the demat information is a one-time process and from next time, you can apply for IPOs without looking at Demat details.
You’ll be prompted to fill in necessary details like your PAN card number, address, and contact information. Make sure to double-check the details before submitting. Incorrect information can lead to delays or rejections.
If you run into any issues, check the frequently asked questions or contact SBI customer support for assistance. They are usually quite helpful and can resolve most issues quickly.